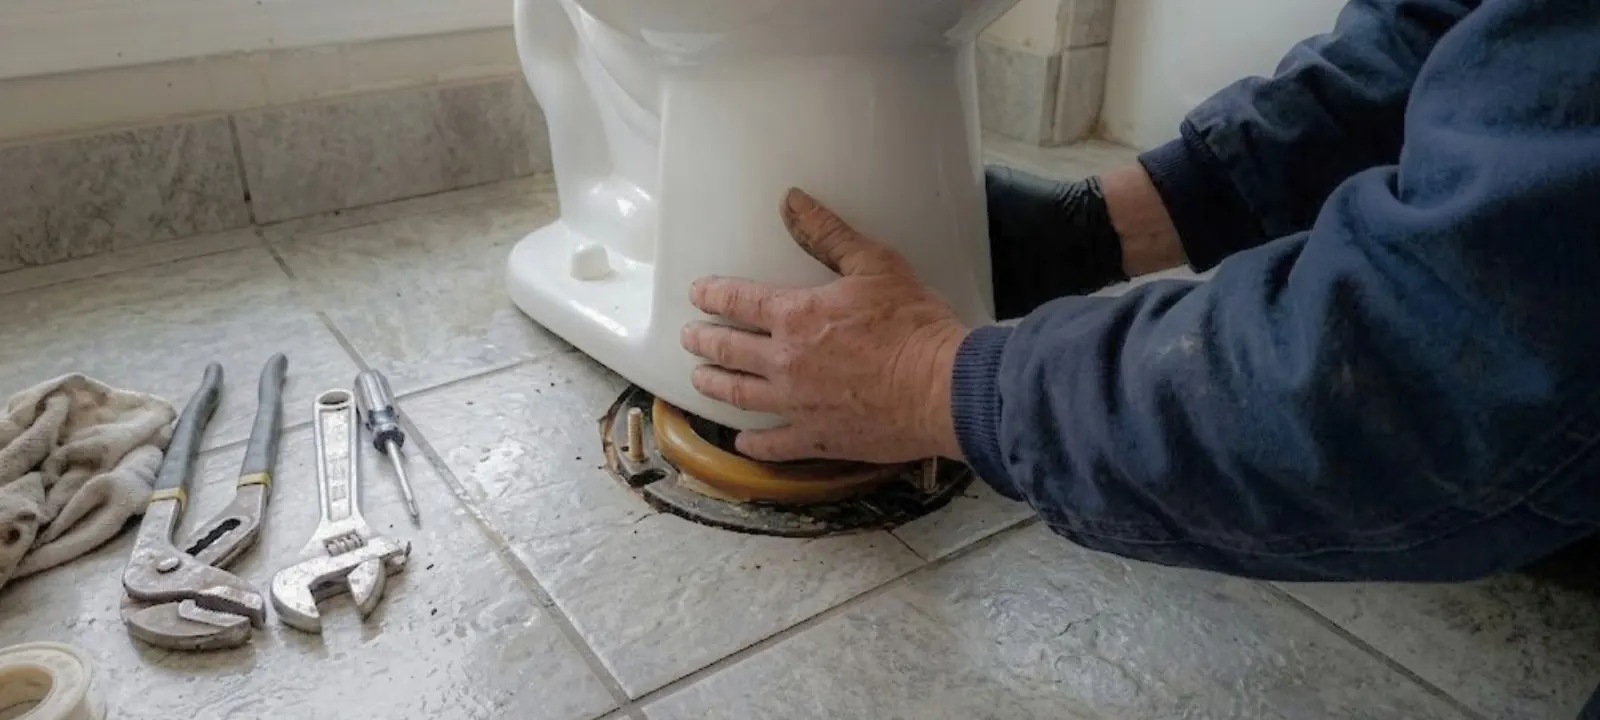
To attach a toilet tank to the bowl, set a new tank-to-bowl gasket on the flush valve outlet and lower the tank onto the bowl. Drop two tank bolts with rubber washers through the tank, then snug the nuts underneath in small alternating turns. Stop when the tank sits level and does not rock.
Then connect the supply line and fill the tank. Check for drips with dry tissue and a few drops of food coloring.
Parts and tools to lay out before you lift the tank
A tank swap or reattachment goes fast when everything is within reach. Missing one washer sends you to the store with a wet floor.
- A tank-to-bowl gasket sized for your flush valve outlet, either 2 inch or 3 inch.
- Two tank bolts, usually 5/16 inch brass or stainless, with metal washers and nuts.
- Two rubber washers for the bolt heads inside the tank.
- A new 3/8 inch toilet supply line if the old one is stiff or kinked.
- A flat-blade screwdriver, an adjustable wrench, and a sponge.
- A level, a bucket, and dry paper towels or toilet tissue.
- Food coloring for the leak check at the end.
Seven steps from bare bowl to a dry, solid tank
Shut off and drain
Close the shutoff valve by the wall, flush to empty the tank, and sponge out the last water. A dry tank is lighter and easier to handle.
Disconnect the supply line
Loosen the nut at the bottom of the fill valve and set the line aside. Keep a towel under the connection for drips.
Set the gasket on the flush valve outlet
Slide the soft, tapered gasket over the outlet that sticks out of the bowl or the tank bottom, depending on your model. The wide side faces the bowl in most designs.
Lower the tank straight down
Line up the bolt holes with the holes in the bowl shelf. Set the tank slowly so the gasket seats evenly.
Install the bolts and washers
Put a rubber washer on each bolt, drop it through the tank, and add a metal washer and nut under the bowl shelf. Tighten by hand first.
Tighten in alternating turns
Use a wrench for a quarter turn on one nut, then the other. Repeat until the tank sits level and firm, and stop before the porcelain feels strained.
Reconnect and fill
Hand-tighten the supply line nut, add a quarter turn, and open the valve. Let the tank fill and flush twice.
Why alternating turns and a gentle stop matter
Porcelain is hard but brittle, and a bolt pulled tight on one side can crack the tank at the hole. Alternating small turns keeps the pressure even across the gasket. The goal is a compressed gasket and a tank that does not rock, not a cranked-down bolt. A tank that still leaks at a snug bolt needs a new gasket or washer, not another turn.
What each leak spot means
Check the three joints in the order below. A dry tissue at each spot tells you which part to replace.
| Where water shows | Likely cause | Fix |
|---|---|---|
| Under the tank, between tank and bowl | Worn or misaligned gasket | Drain, lift the tank, replace the gasket |
| Around a bolt head or nut | Cracked rubber washer or loose nut | Replace the washer, tighten gently |
| At the supply line nut | Loose or cross-threaded connection | Reseat the washer and retighten |
| Dye shows in the bowl but no drips outside | Leaking flapper, not the joint | Replace the flapper |
| Tank sweats on the outside | Condensation, not a leak | Dry it and check again later |
Want a plumber to look at it?
Call the 24/7 line and describe what you see. A licensed plumber can tell you the next step.
Eagle Mountain note: code, permits, and checking a license
Utah adopts the International Plumbing Code with state amendments. For a like-for-like tank reattachment, ordinary maintenance can be exempt from permits. Adding or relocating a fixture is different, because the city's permit sheet lists fixture additions and relocations, so ask the Eagle Mountain Building Department at 801-789-6614.
If you hire help, you can check any plumber's license with the Utah Division of Professional Licensing at the Verify a License lookup. DOPL issues Apprentice, Journeyman, Residential Journeyman, Master, and Residential Master plumber licenses.
Why the gasket and washers cause most tank-to-bowl drips
The tank-to-bowl gasket seals the flush valve outlet against the bowl inlet. If it is old, flattened, or off-center, water slips past it every time the tank empties. Each bolt also needs a rubber washer inside the tank, because water follows the bolt shaft out if that washer is missing or cut.
Reusing a flattened gasket is the most common shortcut that fails. A new gasket costs little compared with the water it saves. Most hardware stores sell kits that include the gasket, bolts, and washers together.
A leak check that catches slow drips
Do not trust a quick glance. These checks show slow leaks before they reach the floor.
Tissue under the joints
Wrap dry toilet tissue around each bolt and under the gasket area. Any damp spot after 15 minutes points to that joint.
Food coloring in the tank
Add a few drops to the tank water and wait 20 minutes without flushing. Color in the bowl means the flapper leaks.
A wiggle test
Press gently on the tank. If it moves, tighten the nuts by a small turn each, not all at once.
A second look in the morning
Check the floor and tissue after the house has been quiet for a night. Slow leaks show up when nobody flushes.
Reattach the old tank or replace the whole toilet
Reattach or reseal the tank when
- The porcelain has no cracks or chips.
- The flush valve and fill valve work properly.
- The leak is at the gasket or bolt washers.
- The bowl sits level and stable.
Replace the toilet when
- The tank or bowl has a hairline crack.
- The bowl rocks on the floor.
- Repairs cost more than the toilet is worth.
- Parts for the model are no longer sold.
When to hand the job to a plumber
Stop if a bolt spins without tightening, the nut is rusted solid, or you see a crack in the porcelain. Forcing it can break the tank, and a cracked tank must be replaced. Our toilet repair service handles stubborn bolts, failed gaskets, and tank swaps.
If you plan to replace the whole fixture, a plumber can set the new toilet and check the floor flange as part of plumbing installation work. A bowl that rocks may also mean the flange or the floor needs attention. We also serve nearby towns, including Saratoga Springs.
Questions readers ask
Do I need to use the same bolts that came with my toilet?
You can use standard 5/16 inch tank bolts if the length fits your bowl shelf and tank holes. Brass or stainless bolts resist rust better than plain steel. Match the length so the nut tightens fully under the shelf.
Why does my tank rock after I tighten the bolts?
The gasket may be uneven, or one nut is tighter than the other. Loosen both, reseat the tank, and tighten in small alternating turns. A rocking bowl is a different problem and may mean the floor flange needs help.
Should the gasket be foam or rubber?
Either works if it matches the flush valve outlet size. Foam gaskets are easy to seat, and rubber ones last in steady use. Buy the one that fits your brand and size instead of mixing parts.
How long should I wait before using the toilet?
Fill the tank, flush twice, and check the tissue after about 15 minutes. If everything stays dry, the toilet is ready for normal use. Check again the next morning for slow leaks.
How do I check a plumber's license in Eagle Mountain?
Utah licenses plumbers through the Division of Professional Licensing, and the Verify a License lookup shows the class and status. Ask for the name on the license before work begins. Licensed and insured plumbers are happy to be checked.
Where the rules come from
This guide is general information and does not replace the code. Utah adopts the International Plumbing Code with its own amendments, so use the links below to check a license and to see which jobs Eagle Mountain says need a permit.